

 English
 Español
 عربى
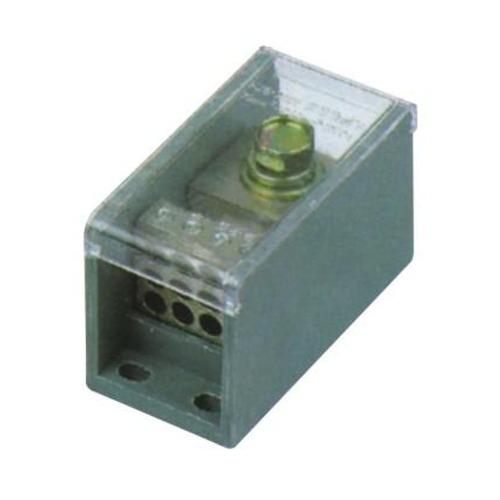
عربىIn modern electrical installations, junction boxes and circuit breaker block junction boxes are indispensable components. Whether installing new wiring or retrofitting an existing system, correct installation of these enclosures ensures safety, compliance, and longevity.
Pre-Installation Planning: Getting Ready
1. Assess Wiring Layout and Cable Runs
Before choosing a junction box location, you should map out where all circuit feeds, branch circuits, and return paths will go. Aim to minimize wire lengths and bends. Factor in:
Entry and exit points (conduits, cable glands).
Separation between high-current lines, low-voltage lines, and grounding conductors.
Space for slack loops and future maintenance or expansions.
2. Determine Box Size and Fill Capacity
One of the more common mistakes is undersizing the box. Overcrowded wiring leads to heat buildup, difficulty in termination, and risk of insulation damage. According to common guidance:
Each conductor adds to the needed volume.
Count future circuits or spare capacity.
Respect volume (cubic inch or mm³) as specified by your local code or manufacturer.
3. Choose Suitable Materials and Ratings
Select a junction box and circuit breaker block junction box made of materials appropriate to the environment:
Indoor, dry environments may accept flame-retardant plastic or mild steel.
Outdoor or damp locations often require corrosion-resistant materials or sealed enclosures with appropriate IP (Ingress Protection) ratings.
Ensure that your device is UV-stable if exposed to sunlight, and that it can handle temperature variations.
4. Plan Grounding and Bonding Paths
Grounding is critical. Make sure:
Metal enclosures are bonded to ground.
A reliable grounding conductor path is maintained.
If using non-metallic enclosures, that grounding continuity is provided through bonded terminals or grounding strips.
Step-by-Step Installation Guide
Here’s a more detailed, practical installation flow, integrating junction box and circuit breaker block junction box practice:
Step A: Power-Off and Verify Zero Voltage
Always de-energize the circuit at the upstream source. Use a multimeter to test wires to confirm no live voltage. This is a safety critical step.
Step B: Mount the Enclosure
Securely fix the junction box or circuit breaker block junction box to a stable substrate (wall, panel).
Ensure the enclosure is level and provides sufficient clearance for door swing or component access.
In panel interiors, ensure enough space around for wiring bends.
Step C: Knockouts, Glands & Conduits
Choose proper knockouts or openings matching your cable or conduit size.
Use cable glands or clamps to maintain mechanical strain relief.
Seal unused knockouts (to maintain IP rating).
Often, users on forums encounter issues with mis-sized knockouts or knockouts that fall off during installation. (See e.g. a thread about a missing knockout ring after mount)
doityourself.com
Step D: Wire Entry, Routing & Segregation
Insert conductors carefully to avoid insulation scraping.
Maintain separation of phases, neutrals, grounds.
Use internal ducting, partitioning, or separators where necessary.
Leave slack and service loops so wires are not tensioned.
Step E: Termination of Conductors & Breaker Connections
For circuit breaker block junction boxes, mount the breaker modules first, then connect supply and load wires.
Use proper terminal connectors (lug, compression, screw) rated for conductor size.
Torque per manufacturer’s specs.
Double-check polarity, phase order, and labeling.
Step F: Ground and Bond All Metal Parts
Connect grounding conductors to the box, to the breaker ground terminal, and to the wider grounding network.
Ensure continuity between any metallic covers, frames, or panels.
Step G: Inspect and Close
Visually inspect for stray strands, pinched insulation, or contact between live and grounded parts.
Verify clearances and internal arrangement.
Close and fasten the cover, with gasket or seal if needed.
Label the enclosure with circuit identifiers or warnings.
Step H: Test & Commission
Re-energize the circuit.
Use a multimeter or test instrument to verify line, load, ground.
Trip the breaker to verify proper operation.
Check for heating during initial load ramp-up.


